Learning basics of routers for complete beginners
Wood workers could not disagree with the fact that wood routers are the most significant tools in their collection and they get to use these useful tools in every other project. When you look around your shop or house, you will find plenty of products that have been edged, cut, routed, planned, joint or trimmed with the use of a wood router.
This powerful tool gives you a complete aid with convenience of being portable and fully functional. Thus if you are a beginning wood worker, this tool should be in your list of purchasing first important tools for a wood worker. This tool is capable of handling versatile applications with the aid of a variety of router bits available now. You can make cabinets, give accurate holes, and make curves and decorative edging with a wood router.

Basics for Wood Router Beginners!
For those who have never used a wood router, this page here will guide you through various components and details of this tool along with common techniques that you should know for using this tool.
1. Router:
Generally most of the routers include a motor that is responsible for spinning router bits at a high speed for carrying out varied routing applications. You can find both fixed speed router and a variable speed router depending upon the nature of jobs that you will be performing with your router. Routers nowadays are available in a wide range and there will be varied power motors to choose from. You don’t need to look for a router that is most expensive or is most powerful rather look for a reasonably good wood router. The most essential part to get a desired cutting, grooving, joinery or edging task done is the use of ideal router bit type.
2. Router Bit:
When you begin looking for different router bits, you will find plenty of them with different styles and designs of cut for your material. There will be straight cut bits, some will enable you to groove material or some will be suitable for edging. As a beginner you don’t need to buy all of them. You can buy some common and most useful router bits individually or can also find sets of bits. Router bits come with pictures showing you profile that they are going to make. It is best to go for a set that you can buy online so that you get a chance to try your hands on different types of bits and can make varied shapes. Router bits that are usually used in a variety of wood working applications are straight cut and round over bits. Most of the jobs can be done if you buy some straight bits and round over bits for your wood router.
Some of the router bits are appointed with a free spinning bearing that is used for edge routing while others like straight bits do not have such bearing and are used for cutting dadoes, grooves etc.
3. Changing Router Bit:
Changing router bit is pretty simple. In a wood working project, you would need to work for different profiling of your work piece and thus would need to change bits. With the use of wrenches, remove the old bit. You need to use one wrench over router shaft and the other for locking nut that holds the bit. Your router may have a locking process that locks router shaft. If that is the case, you just need one wrench for changing bit. As you place wrenches, release the locking nut and pull the router bit out. You will find a cone shaped collet that holds bit. Remove that too and clean if required. Now install the collet and locking nut on shaft and slide in your router bit that you need to use now. Use wrench to tighten it up.
4. Using a Wood Router:
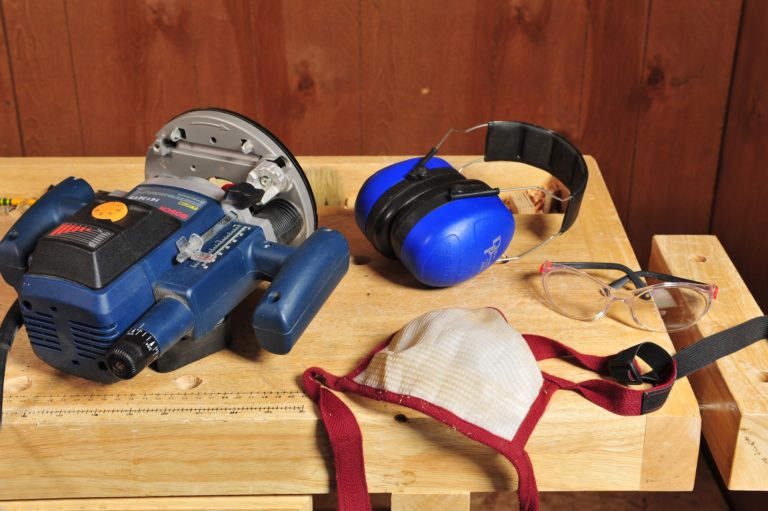
Safety Tips:
- Router makes a lot of noise and thus you should wear a hearing protection.
- Also wear safety glasses in order to keep your eyes protected from chipped material.
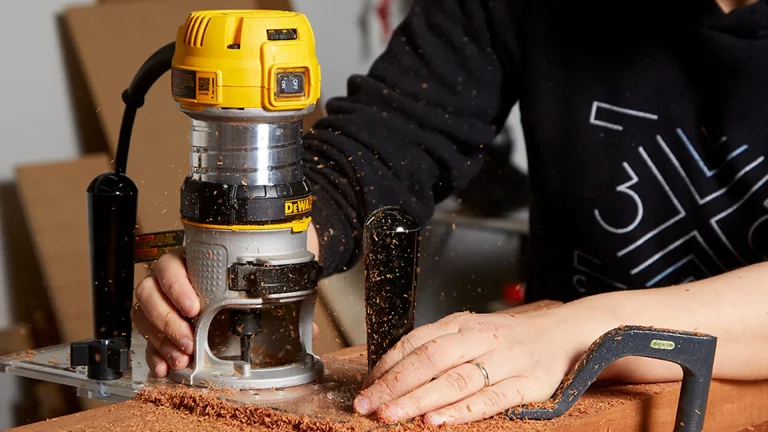
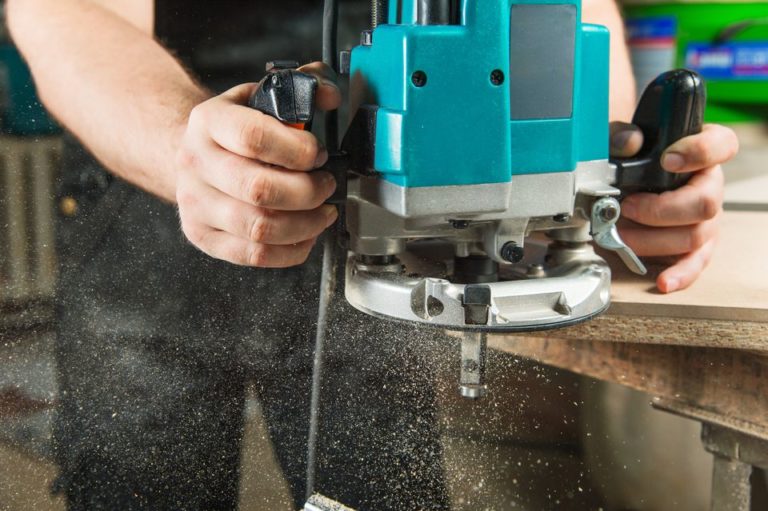
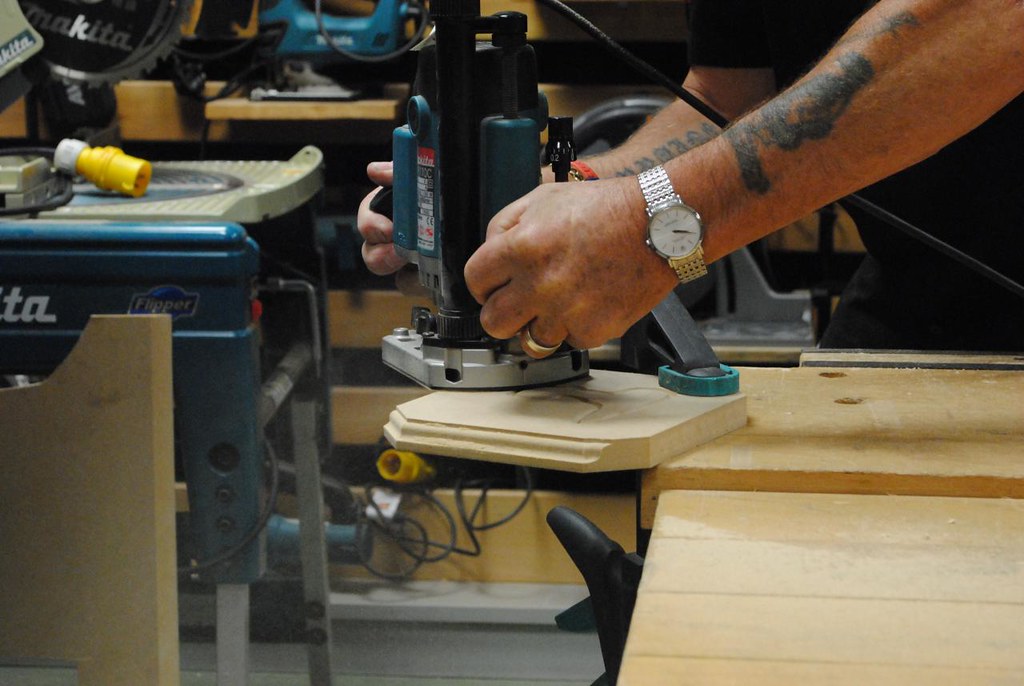
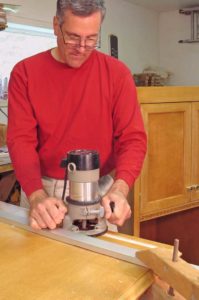
Handheld Wood Router:
Now that you have installed router bit required for your wood working task, you can begin using your router. Remember that router bit spins clock-wise so you should have your work piece to be trimmed or edged on the left side of your router bit. Turn the router on and slowly feed in to the work piece as the bearing comes in contact with the piece.
Wood Router on the Router Table:
For most of the wood working applications you would need to use your wood router mounted on a router table. You can opt for any router table of your choice according to your convenience and requirements of storage and working space. You will find plenty of designs in market and can even opt for a custom-made option.
All the router tables should have a hole in the center for mounting wood router. Take your router upside down under the table and screw it in. You can easily mount your router under the table and plug it in. You should have a router table fence in order to guide your work piece well and prevents it from going off the course of cut. A shop vac must be attached to your router table so most of the chipped material is sucked directly by vacuum preventing your working space from becoming a complete mess.
Now attach the router bit that you need to use and move your work piece over it. Remember that on a router table, you should move your material from left to right side of the table as the router is clamped upside down and now your bit is running counter clockwise as opposed to clockwise in hand routing.
Conclusion
There are numerous different techniques that make your wood router most versatile wood working tool. This page is just an introduction for beginners where we have shared all the basics that a total beginner needs to know about wood router. Get more details and information in order to learn advanced techniques of this impressive tool.