How to Avoid Splitting the Wood with a Nail Gun
Anyone who’s spent time in a wood shop knows the feeling. Working with that perfect piece of wood, the project is coming along great until . . . bam. The wood splits, shooting splinters off in all directions and ruining the log.
As an experienced woodsman, I’ve learned a thing or two about the best practices on how to avoid splitting the wood with a nail gun, and I’m going to share those tips with you here. Just remember, don’t give up when it happens – learn from your mistakes and incorporate these hints on your next project. It’ll make a world of difference.

Step by step guide: How to avoid splitting the wood with a nail gun?
Choose the Right Nail Size:
Don’t use a nail that is too big for the job. Using a nail with a diameter larger than necessary is the easiest way to split the wood right off the bat. This is an amateur mistake, but luckily it’s easy to avoid. Use shorter and thinner nails for softer woods.
During the planning process, consider how thick the wood is and the other pieces of the project that will be connected, and buy nails that are an appropriate size.
There’s no sense in driving a 20d nail into a thin ½” plank. When it comes to working with a nail gun, less is more.
Cut the wood so as to avoid nailing through knobs and bumps.
You want to use the gun to drive the nail into smooth, flat pieces of wood. Grain that changes direction or isn’t consistent with the flow of the wood is going to split open much more easily, and even if you do manage to get the nail in clean, the odds that it’ll split down the line are incredibly high. The softer the wood, the more flexible it is and the fewer knobs it will have.
Check the Wood Moisture Content:

The same goes for moisture. The drier the wood, the less flexible and the more likely to split it is. To avoid splitting the wood with a nail gun, the best types of wood to use are Pine, Douglas Fir, and Southern.
You don’t want the board to be soaking wet, but a natural amount of moisture is a good thing. Storing the wood in a humid area overnight before drilling is a good idea if the wood is dry or if you live in a dry climate.
Avoid Nailing Near the Edges:
Try to keep nails at least 2 inches away from the edges of the wood. The closer you get to the edge, the higher the risk of splitting.
Angle Your Nails:
Instead of nailing straight down, angle your nails slightly. This technique, often called “toe-nailing,” can help distribute the force and reduce the risk of splitting, especially near the edges.
Adjust the Nail Gun Pressure:
If your nail gun is driving nails too deeply into the wood, it can increase the risk of splitting. Adjust the air pressure on your compressor or the depth setting on your nail gun to ensure nails are set at the correct depth.
Pre-drill Pilot Holes:
Pre-drilling is safe drilling! To loosen the wood up a bit, it can help to pre-drill a small hole in the spot you hope to drive a nail through.
Not only does this help with prepping the wood, it also gives you a sense of whether or not you’re drilling in a good spot.
Make sure your pre-drill is not wider in diameter than the nail you’ll be using for the actual drill, though – that’ll do a number on your spot and make it unusable.
A brad point is a type of drill bit that is designed to drill clean, accurate holes in wood without splintering. It has a sharp point that helps to center the bit in the wood, and two cutting edges that cut through the wood cleanly.
Here are some of the benefits of using brad point drill bits:
- They drill clean, accurate holes without splintering.
- They are less likely to cause the wood to split.
- They can be used in a variety of materials.
Back the nail out if the wood begins to crack.
If the wood begins to crack, back the nail out. Be sure to do this immediately, because it is possible to save the piece of wood if you catch the crack right away. To avoid splitting the wood with a nail gun any further, locate a new spot on the piece of wood.
Hopefully, the area that began to crack is near the end of the piece so that you can saw it off and prevent the crack from spreading any further.
Often, drilling further down towards the center of the board is a good idea because the wood is more congealed and less likely to crack. Near the end, where it has been previously cut, a bad drill will more easily crack the wood. You may be able to use a wood screw to salvage.
Blunt and lubricate the nail before drilling
You want the least amount of friction possible when using a nail gun, especially as a beginner.
To help avoid splitting the wood with a nail gun, you want the nail to cut through the board instead of wedging its way through like a knife. This keeps the board congealed.
The first step here is to dull the nail by placing it on the edge of your work table with the point facing up.
Take a hammer or other solid blunt object and hit the end of the nail with it a few times until it loses some of its sharpness.
After this step is complete, rub some petroleum jelly on the nail (just a bit) to keep it nice and lubricated for the drilling. This cuts down on friction, especially with harder woods like maple, oak, or birch.
Use Sharp Nails:
Dull or blunt nails can increase the risk of splitting the wood. Always ensure your nails are sharp and free of rust or other imperfections.
Nail Placement:
Space your nails evenly and not too close together. Nails that are too close can create a line of weakness, leading to splits.
Be Mindful of Wood Grain:
Try to nail along the grain of the wood rather than across it. The wood is stronger and less likely to split when nailed along the grain.
The types of nails to use
There are dozens of different types of nails you can use to drill through wood. Diameter and length are what matters for your project, and these are typically measured in millimeters.
Generally, you’ll be using nails between 4D and 60D for these types of projects. Because thinner nails are less likely to split the wood, I recommend using the thinnest nails possible- closer to 10-12D.
If measuring in the gauge of the nail, the opposite is true- much like piercings, the lower the gauge, the bigger the nail.
For thinner wood with reasonable moisture, a gauge of about 9 should do, depending on the thickness of the board. Also, keep in mind that the longer the nail is, the better the chance it will split wood.
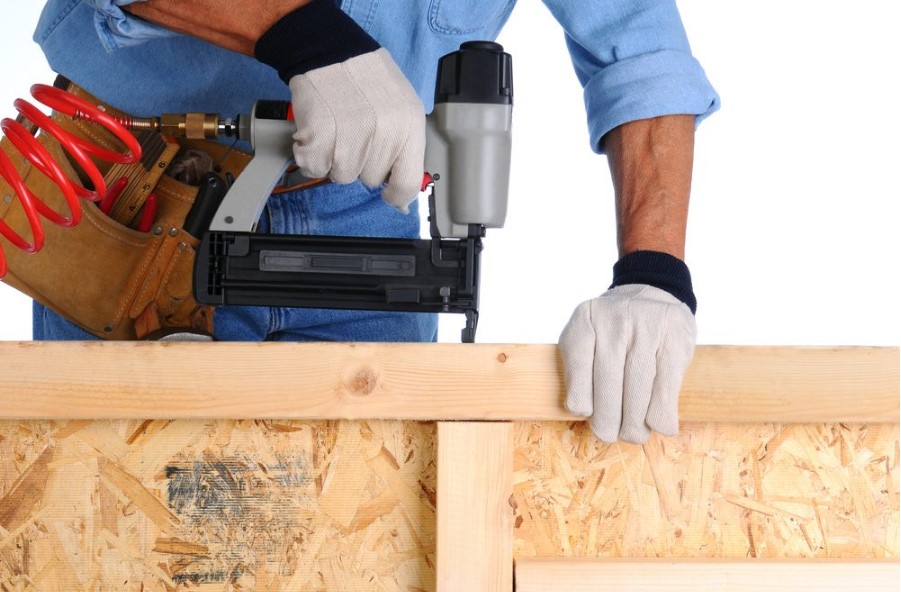
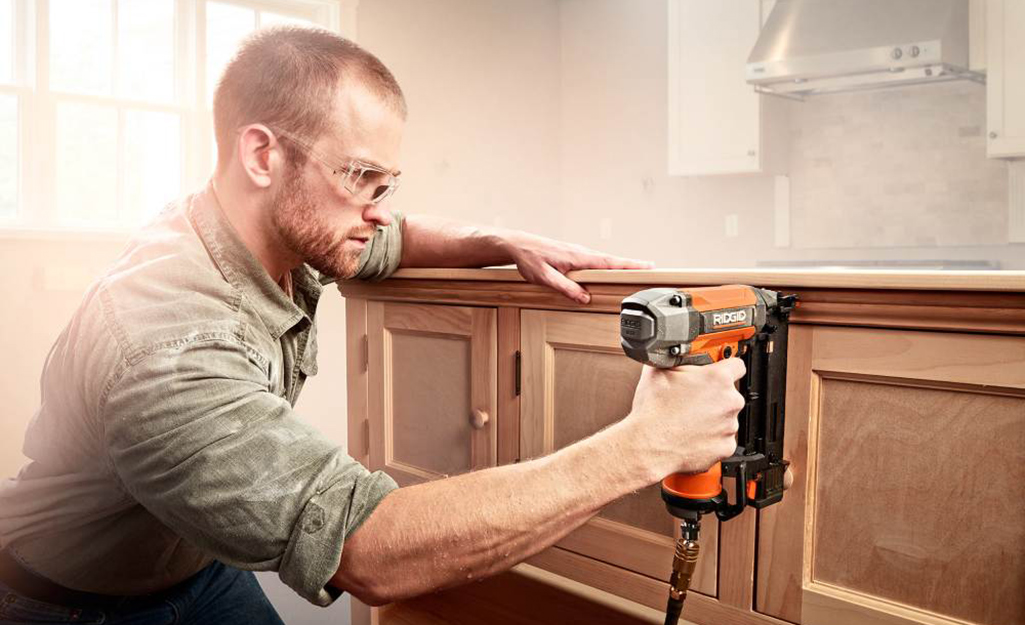
Safety First:
Always wear safety glasses when using a nail gun. Keep your hands clear of the nailing area to prevent injuries.
Conclusion
Now that you have a grasp on how to avoid splitting the wood with a nail gun, you’re ready to get back in the shop and finish that project. Remember to plan ahead when buying both wood and nails, and make sure they will work together. You don’t need a super thick or long nail for a thin piece of wood. Ask an employee at the hardware store to make sure you’re buying the right nails for the job.
I hope you have enjoyed this article.
If you discover any tips along the way, please share them here, and SHARE this article with your friends to help them avoid wood splitting.