How to Find Roof Pitch with a Speed Square – A Step-by-Step Guide
Knowing the roof pitch or slope is important for many stages of roof construction. An accurate pitch ensures the roof sheds water properly and allows you to cut rafters and shingles correctly. In this post, we’ll show you how to easily find the roof pitch using a common carpenter’s tool – the speed square.
What is a Speed Square?

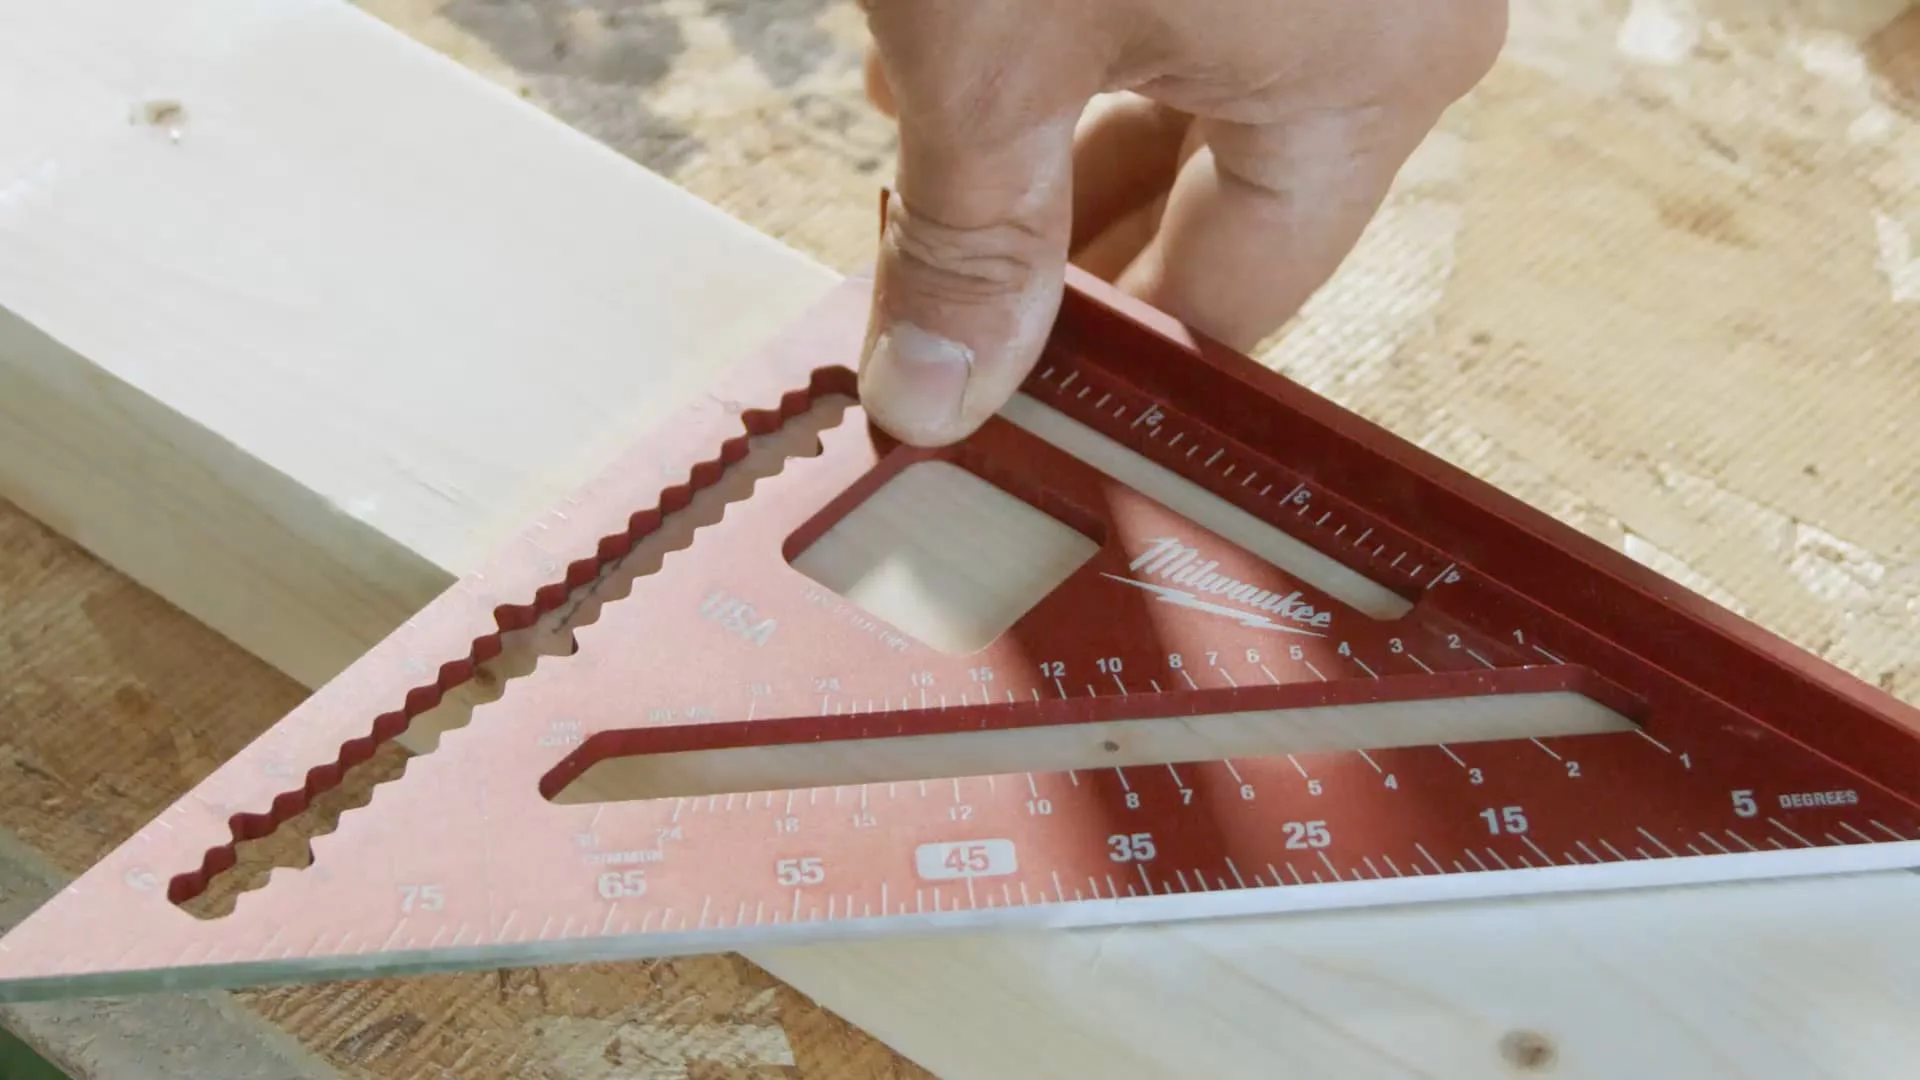
A speed square is a triangular, ruler-like device with various measurement markings along its edges. It was invented in 1925 by carpenter Albert Swanson to help woodworkers quickly mark lines and angles.
The speed square can be used for:
- Cutting rafters and stair stringers to match the roof slope
- Ensuring joists and trusses are positioned correctly
- Marking lines perpendicular to a board’s edge
- Measuring and marking angled cuts
Why Accurate Pitch Measurement Matters
Getting an accurate roof pitch measurement is crucial for:
- Correct roof drainage – An improper pitch can lead to areas that collect water and cause leaks or rot.
- Rafter and truss cutting – The pitch determines the angle you need to cut the lumber to match the roof slope.
- Shingle cutting – Shingles must be cut to fit the roof slope. An incorrect pitch means badly-fitting shingles.
- Safety – An inaccurate pitch could mean safety equipment like anchors are not correctly installed.
Using a Speed Square to Measure Pitch
Let’s go through the process step-by-step:
Tools Needed
- Speed square
- Pencil
- Tape measure
Steps
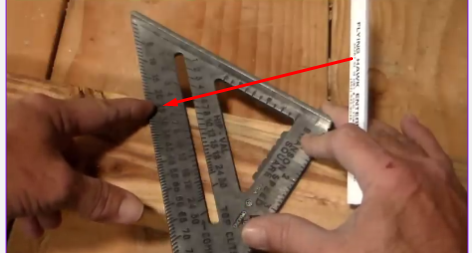
Identify the desired pitch: Determine the pitch you want to create, such as a five 12 pitch.
Find the pivot point: Locate the “five” mark on the speed square. This mark will serve as the pivot point for creating the pitch.

Position the speed square: Place the speed square on the surface where you want to create the pitch. Ensure that the pivot point aligns with the starting point of your pitch.

Align the speed square: Turn the speed square until the “five” mark on the common scale lines up with the desired angle for the pitch (in this case, 5/12).
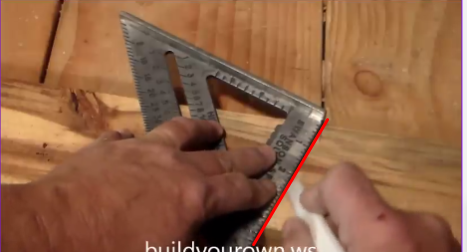
Mark the pitch: Once the speed square is correctly aligned, make a mark on the surface to indicate the starting point of your pitch.
Verify the angle: If you need to convert the pitch angle into degrees, locate the degree scale on the bottom of the speed square. Find the corresponding degree for a five 12 pitch, which is 22.5 degrees (half of a 45-degree angle).
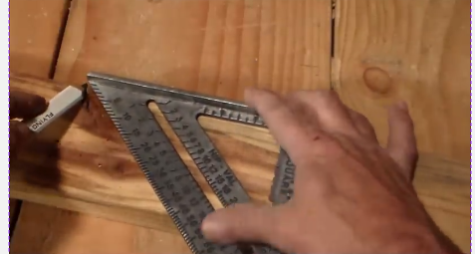
Cutting a 45-degree angle: If you want to cut a 45-degree angle, you can use the built-in feature of the speed square. Align the square flush with the material and use the backside to create the 45-degree angle cut.
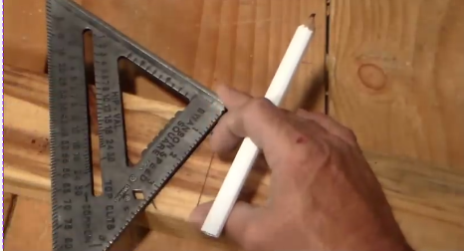
Pitch trusses on a five 12: For pitch trusses with a five 12 pitch, you’ll have five inches of vertical rise or fall for every 12 inches of horizontal distance.
Tips for Accuracy
- Check that the speed square sits flush against the roof without rocking.
- Make sure your tape measure is pulled tight and reads accurately.
- Repeat measurements on different roof sections to verify.
- Use the level edge of the square, not the tongue, for best results.
“Always take pitch measurements in multiple spots. Roof pitch can vary, so check different areas to determine an average pitch.”
Other Speed Square Uses in Roofing
Beyond just finding the pitch, a speed square has other helpful uses for roofers:
- Cut rafter tails and marks – The square’s edge allows you to mark and cut tail cuts and notches on rafter ends.
- Lay out shingle courses – Use the square as a guide to chalk horizontal lines for shingle tabs.
- Determine slope – The degree scale on the square converts pitch to slope angle.
- Cut opening flashing – Score metal flashing for clean folds at valleys and chimneys.
Common Mistakes
Be sure to avoid these common errors when using a speed square:
- Holding the square incorrectly and getting an inaccurate reading.
- Measuring from the tongue end rather than the long, level edge.
- Not measuring on multiple roof sections to verify pitch.
- Ignoring signs of wear like chips or missing markings on an old square.
Roof Safety Precautions
Working on roofs comes with risks, so keep these safety tips in mind:
- Always use proper fall protection equipment when working at heights above 6 feet.
- Know the roof’s pitch before going up – low slopes below 4/12 are more dangerous.
- Wear shoes or boots with slip-resistant soles to avoid falls.
- Use harnesses, toe boards, and other safety gear correctly.
- Don’t work on roofs during wet conditions or high winds.
Accurately finding the roof pitch is the first step to working safely above ground.
Conclusion
With a basic understanding of how to use a speed square, finding roof pitch is straightforward. An accurate measurement allows you to construct a roof correctly and safely. We recommend verifying in multiple spots and taking your time. Roof framing relies on precision work.